How to Apply Contact Paper to Walls
My sister, Victoria, recently moved to Washington with her partner, Helen. As renters, they really wanted to make their apartment reflect them. They had a design question, and I suggested (what I thought was) an easy DIY. Here's her story about applying marble contact paper to her open kitchen shelves. Have you ever tried?
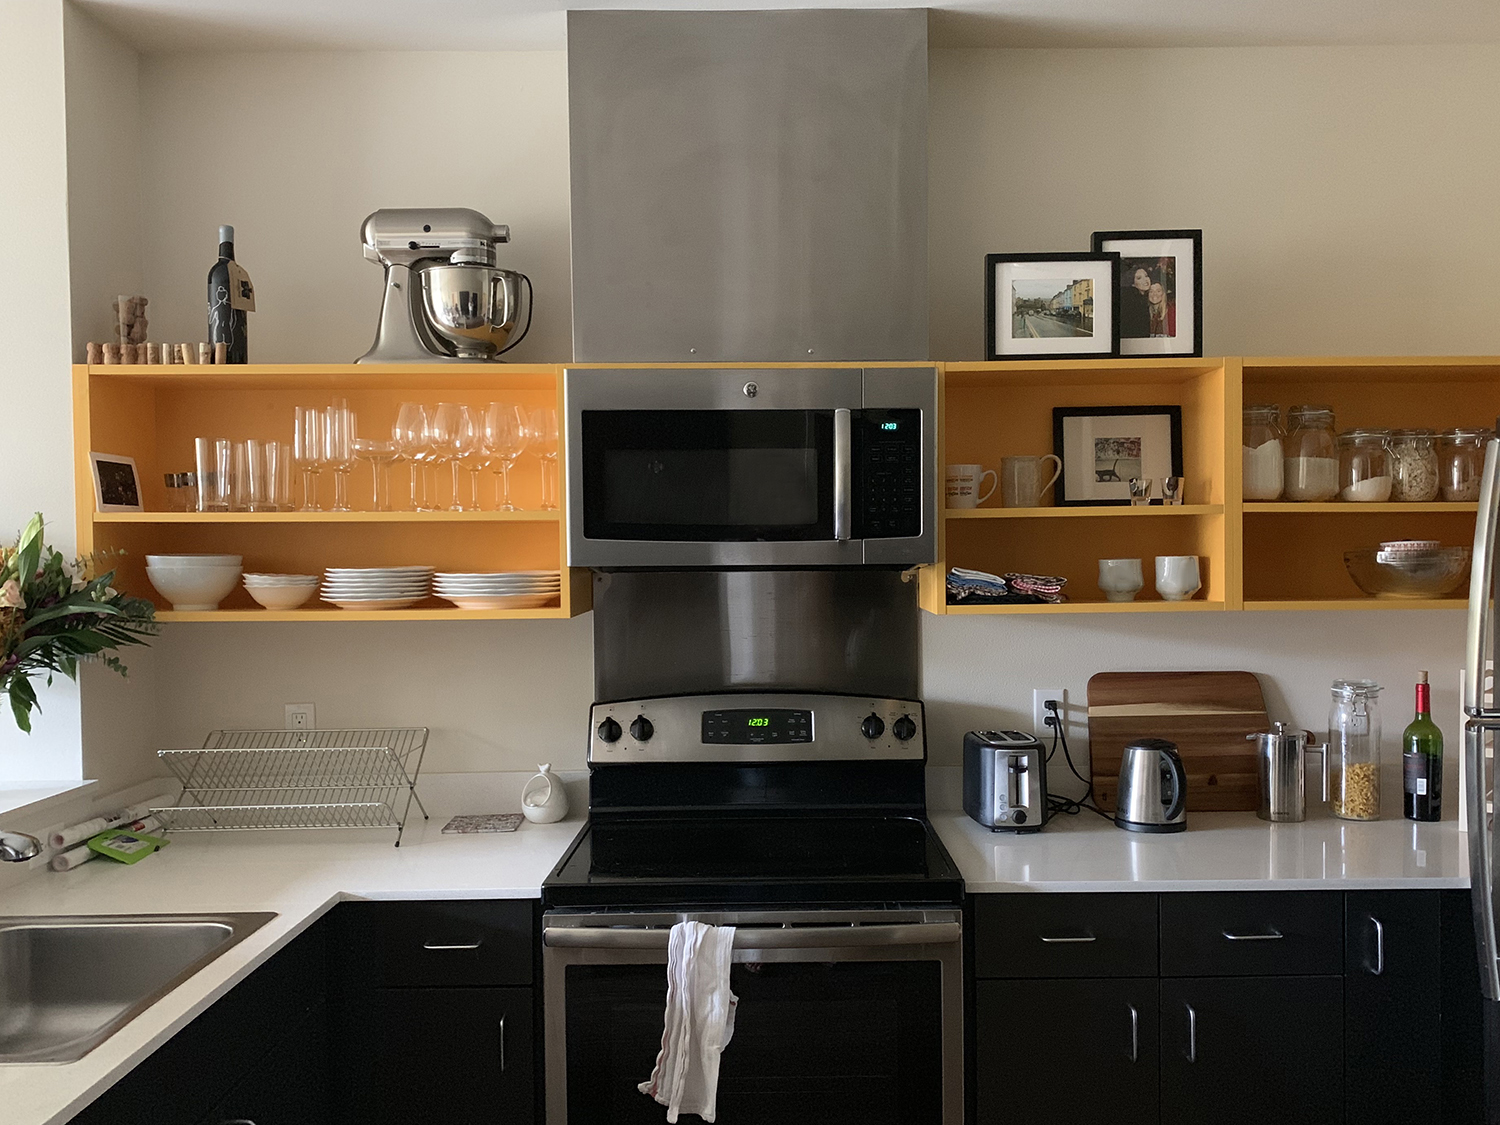
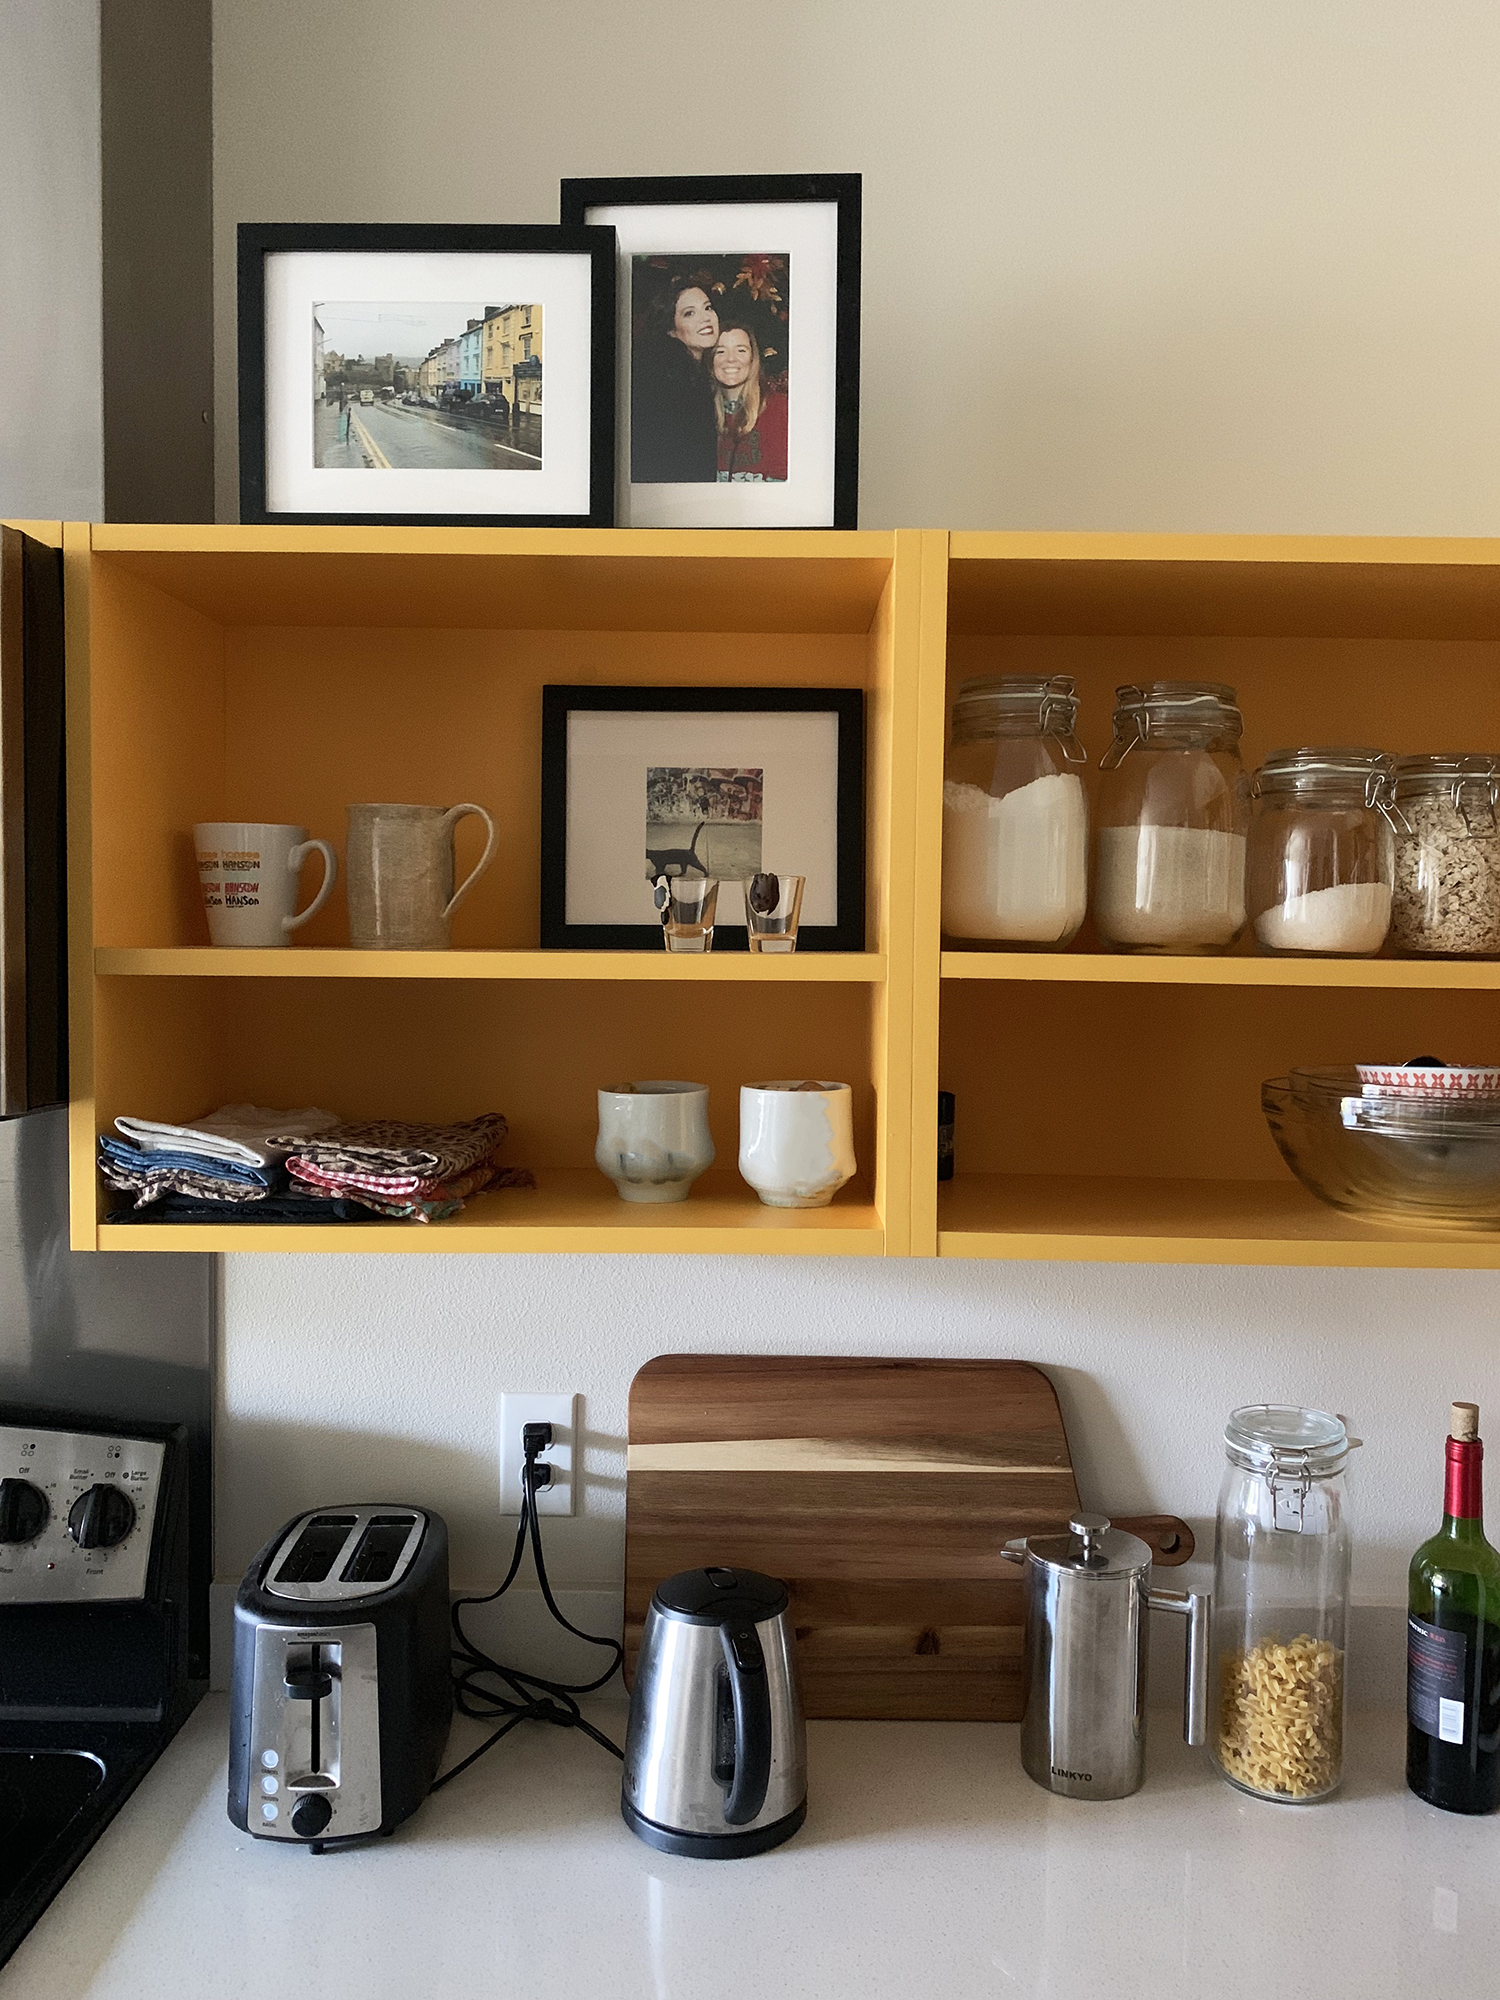
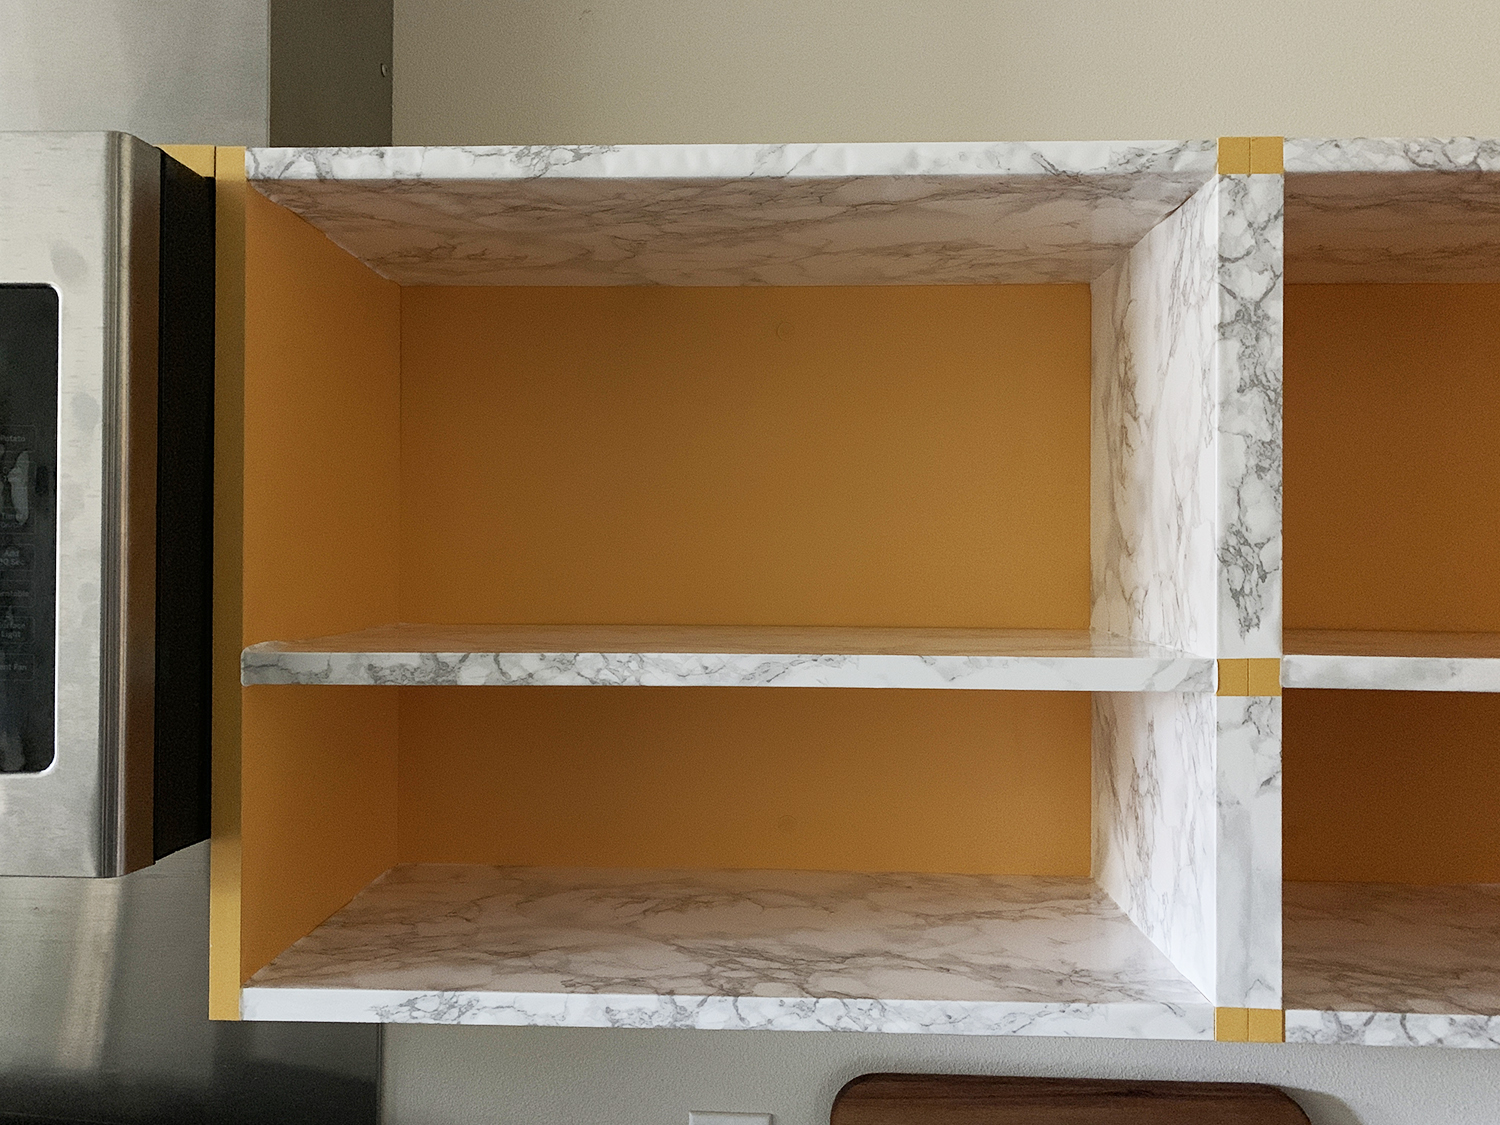
Our Seattle apartment is a dream, but the stoplight yellow shelves were a design conundrum: Not only did they cast a lemon hue over our small space, but they also prohibited us from decorating with the blues or grays that we gravitate toward. ("Your apartment will look like an IKEA," Julia said).
As renters, we needed a fix that was only semi-permanent. Julia suggested marble contact paper, and we squealed at this solution. This aesthetic would fit our traditional style and open up our options for cool-colored decor. — Nevermind that we didn't know anything about how to apply contact paper.
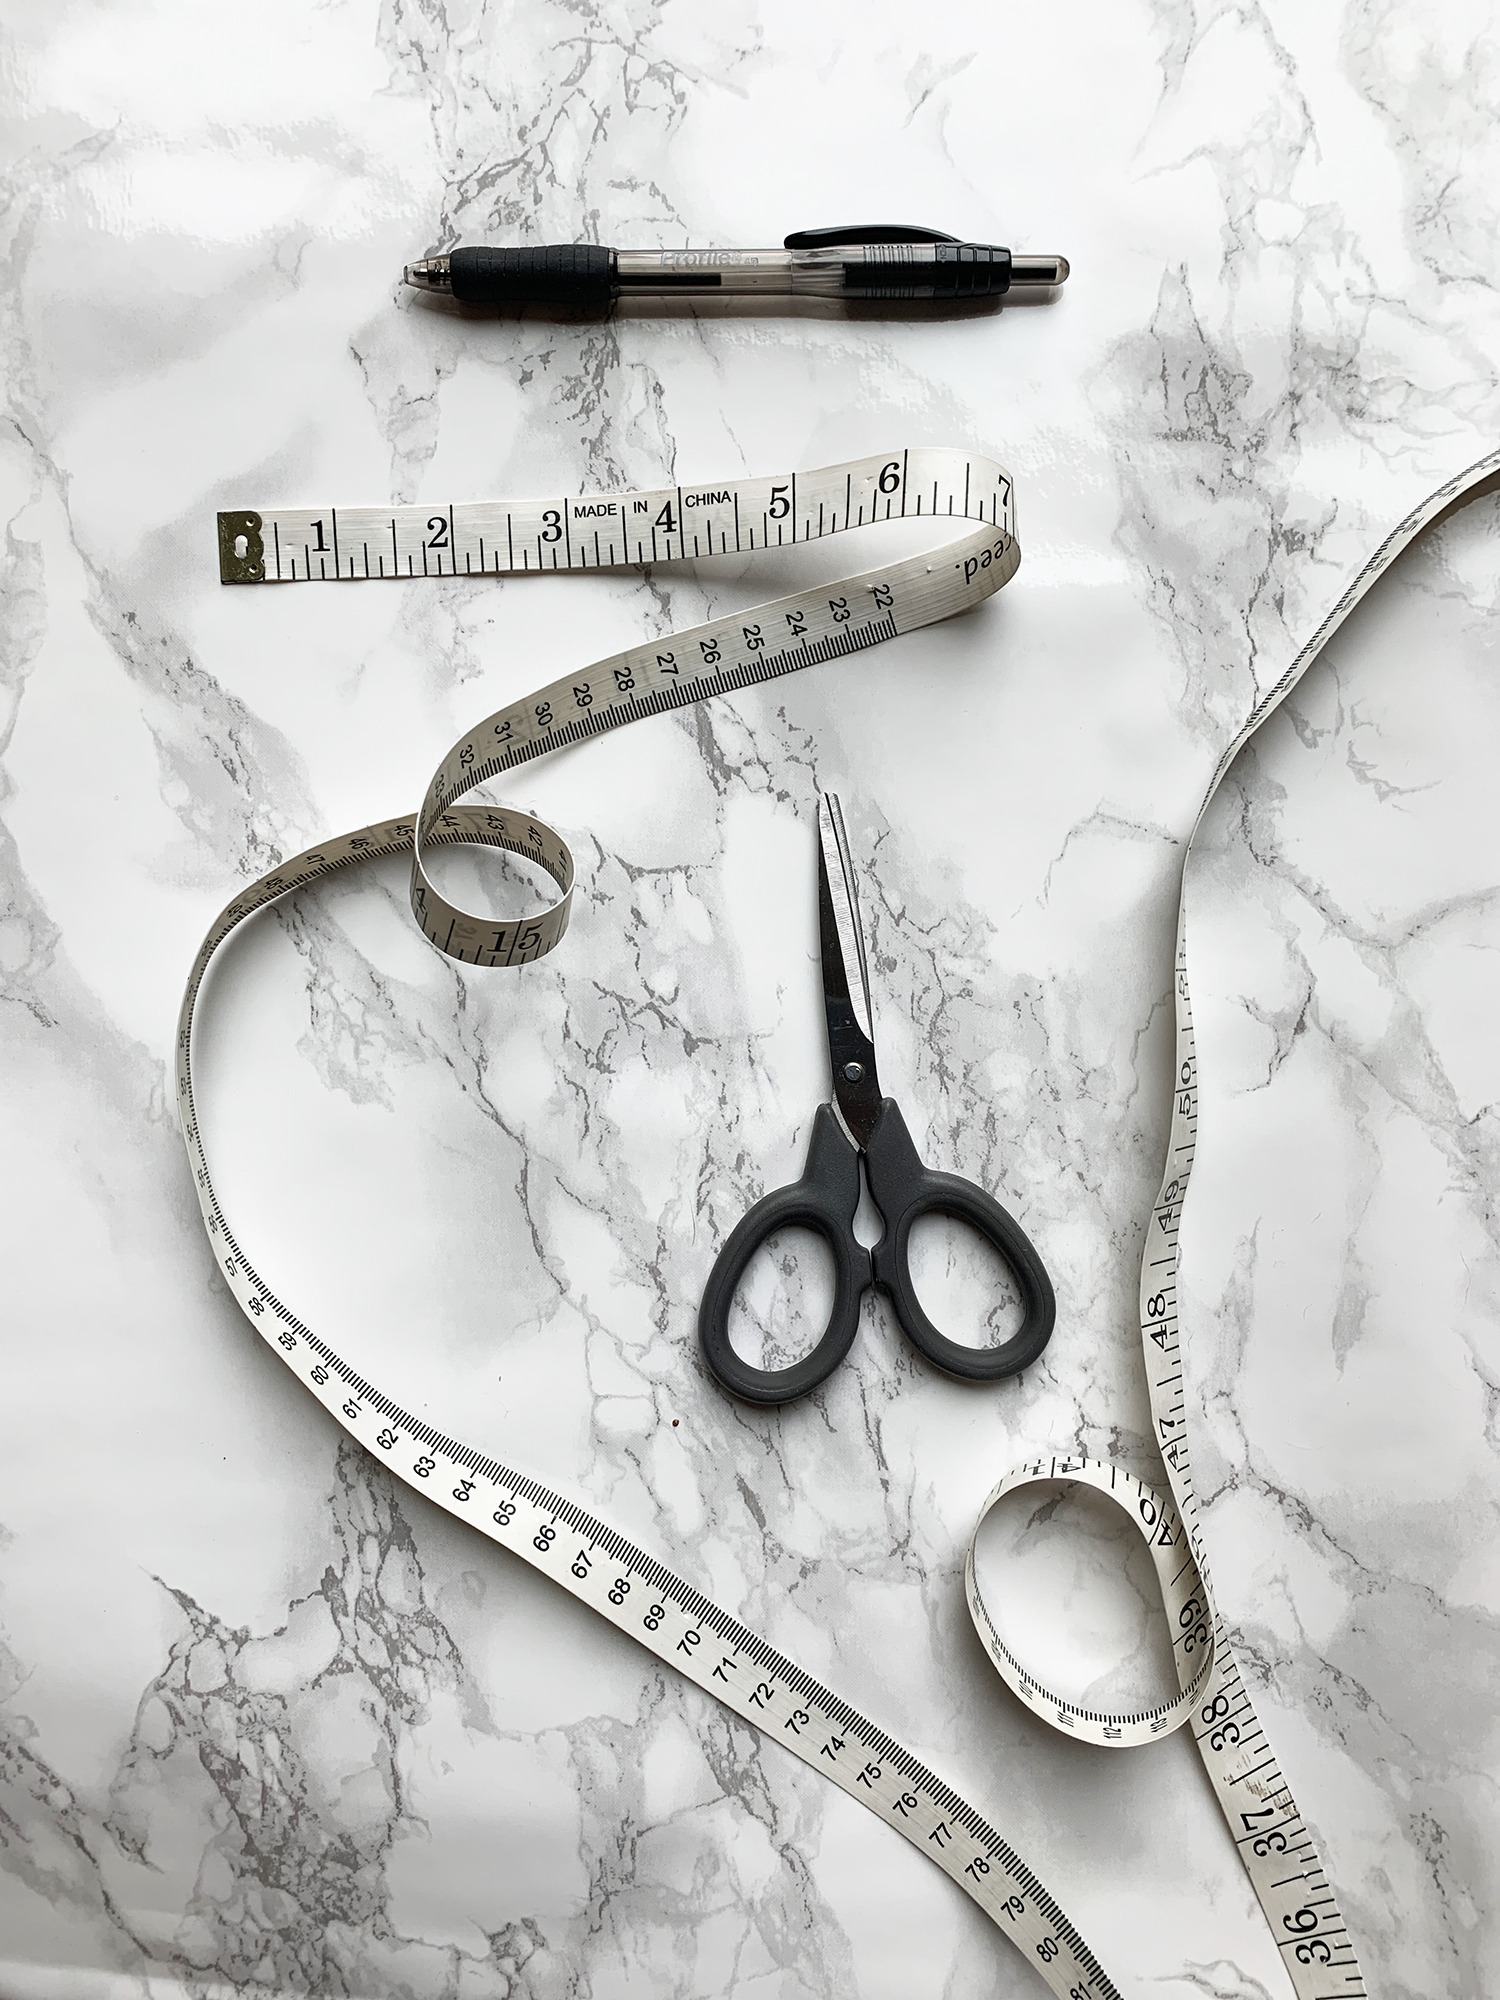
We ordered two rolls of marble contact paper (based on veining we liked and great Amazon reviews) and the scraper that was suggested to us at check-out (we'd figure out what to do with that later).
Next, we watched every contact paper tutorial on YouTube. Some of these were (accidentally?) funny. ALL of them were for countertops or desks. None were for covering shelves (top, bottom, back, sides…) like ours. But we took the common denominators of contact paper tips and tricks and took to the shelves, confident after our brief crash course.
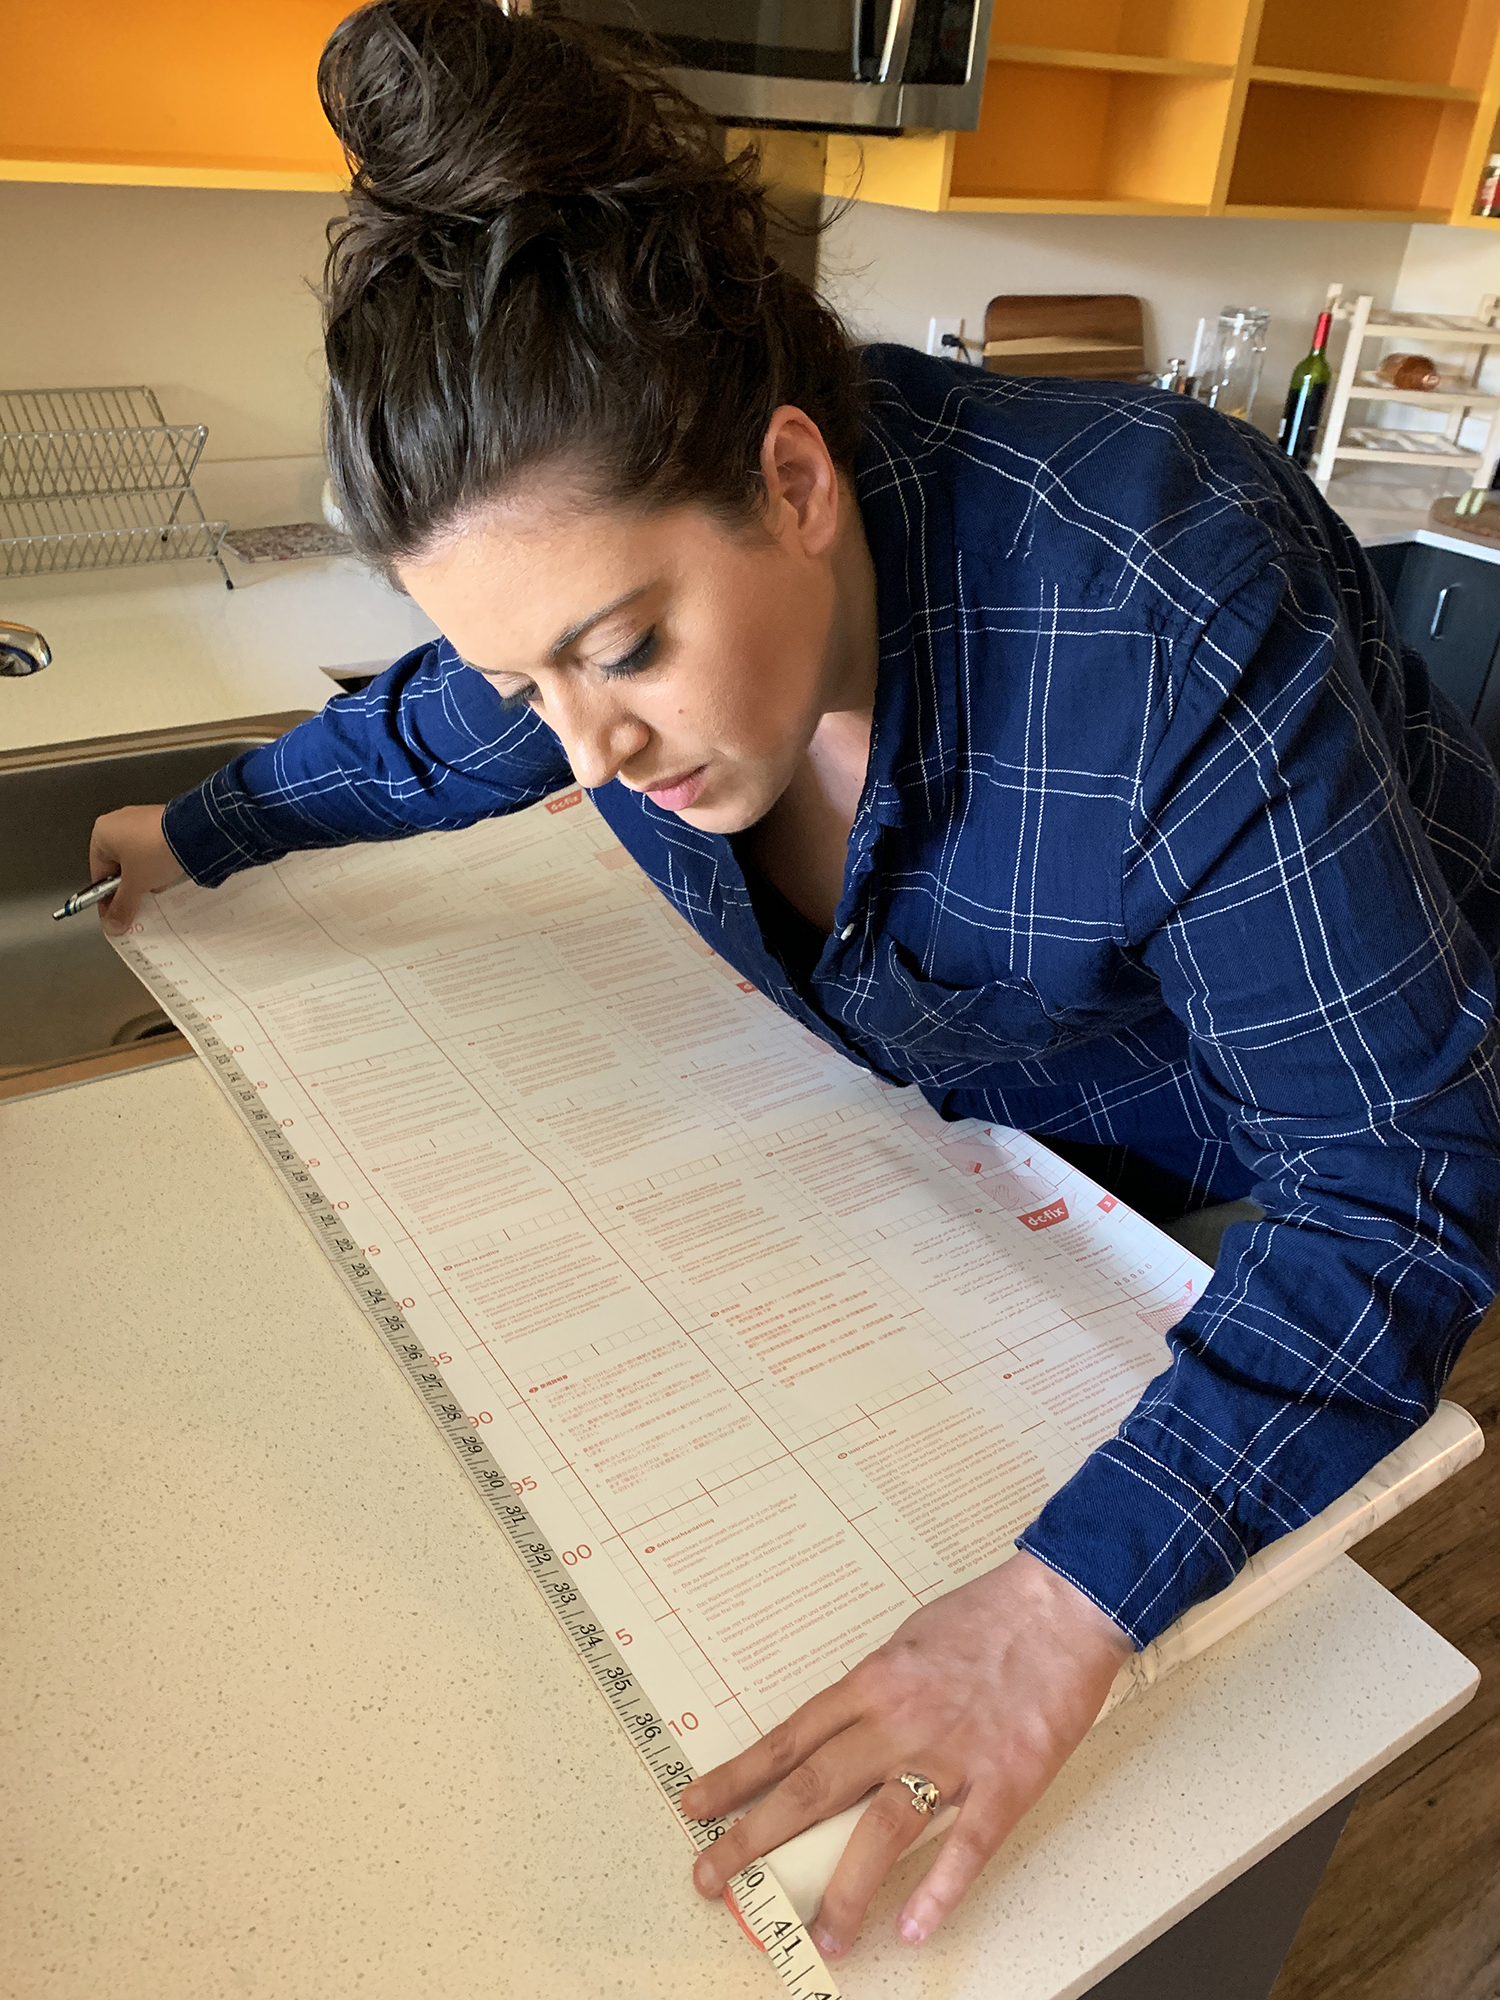
We started with the bottom shelves, thinking these would be easiest. Using a tape measure, we measured the length and width and cut our paper exactly. (This proved to be a mistake. More on that later.)
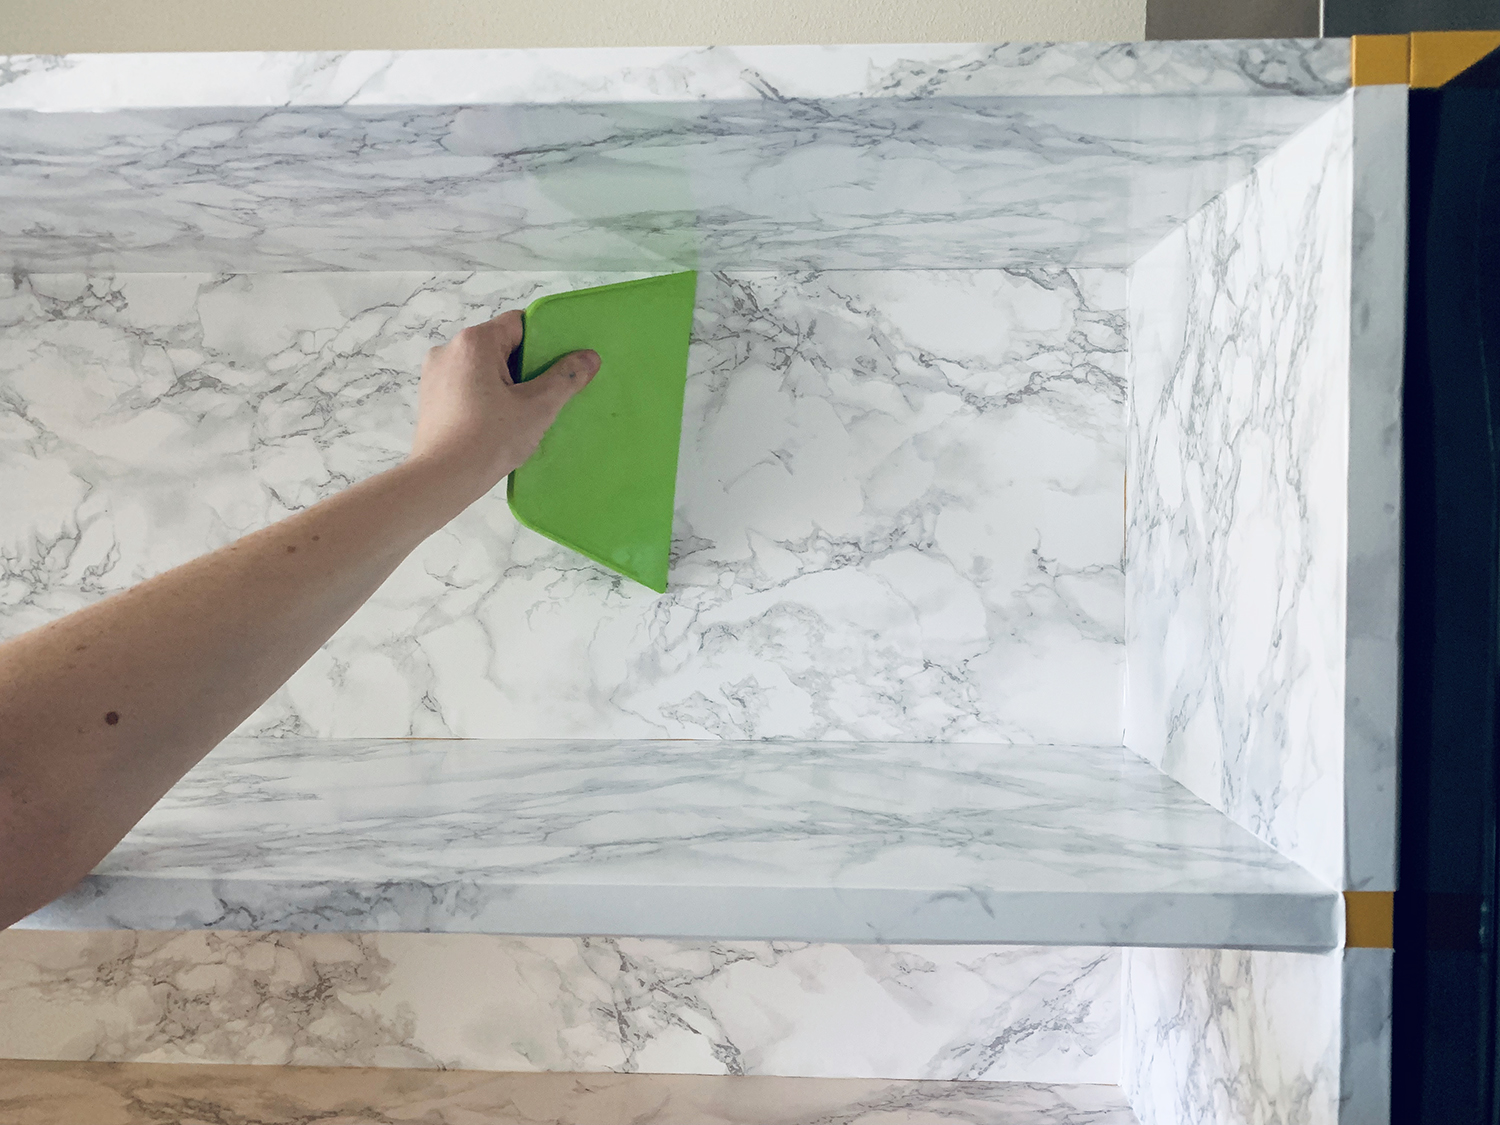
Next, we sprayed the shelf generously with Windex. This YouTube tip was immediately helpful. We peeled two or three inches of backing off and slid the paper into place. We peeled the rest of the backing off, and with the help of the Windex, slid it exactly into place. Then, using the bright green scraper we had the good sense to buy, we smoothed the bubbles out and squeegeed the Windex out. It was flat as stone and so shiny. We were giddy!
The trouble came with curling the edge over. Because we cut it exactly, it kept peeling up. The edges matched up, but the paper wouldn't stay down. We learned quickly to leave a three- to four-inch lip to wrap underneath and pull it tight.
After we worked through all of the bottom shelves, pulling the excess paper under, we beamed at all of our marble surfaces. — And we were already out of paper. **Tip: Measure all of your shelves first! (Why didn't we think of this?!) We ordered six more rolls to finish the job, and took a disheartening break for a few days.
We chose to pick the project up by applying contact paper to the undersides of the top shelves (the "ceilings"). We felt this would be the next "easiest" orientation for the paper. We were wrong. We applied Windex again and slid our cut paper into place, but as we were using the scraper, we were spraying glass cleaner all over our faces. It was a splashy, awful mess and so difficult to get the pieces in place and bubble-free. **Tip: Apply less Windex to the "ceilings," and make sure to leave a generous lip to fold over the top.
We moved forward with the side pieces, wrapping the contact paper over the seams between two cabinets, giving the appearance of thick marble slabs. These were easy! — Until we got to the pieces on the ends and the pieces around the microwave. These proved to be so difficult because we couldn't use our "trick" of leaving some excess and wrapping around the edges. All of these side pieces had hard edges!
We cut them exactly and applied spray adhesive to help with the peel up. The spray adhesive left a film everywhere, including over our shiny shelves. #fail
The back pieces were easy to cut and apply. The Windex helped us to slide these pieces into place. We were relieved, and almost started celebrating too soon. Now we had to cut pieces for all of the yellow squares and rectangles that were left over. All of the "joints." We started making little marble "stickers" for these spots. We used no Windex here, so we were extra careful to apply them exactly. If you get close, you can see these joints — the veining doesn't line up. But we're imagining that our friends will forgive these flaws — or better: think that that's the way marble shelves come together?
Here's a reminder of where we started:
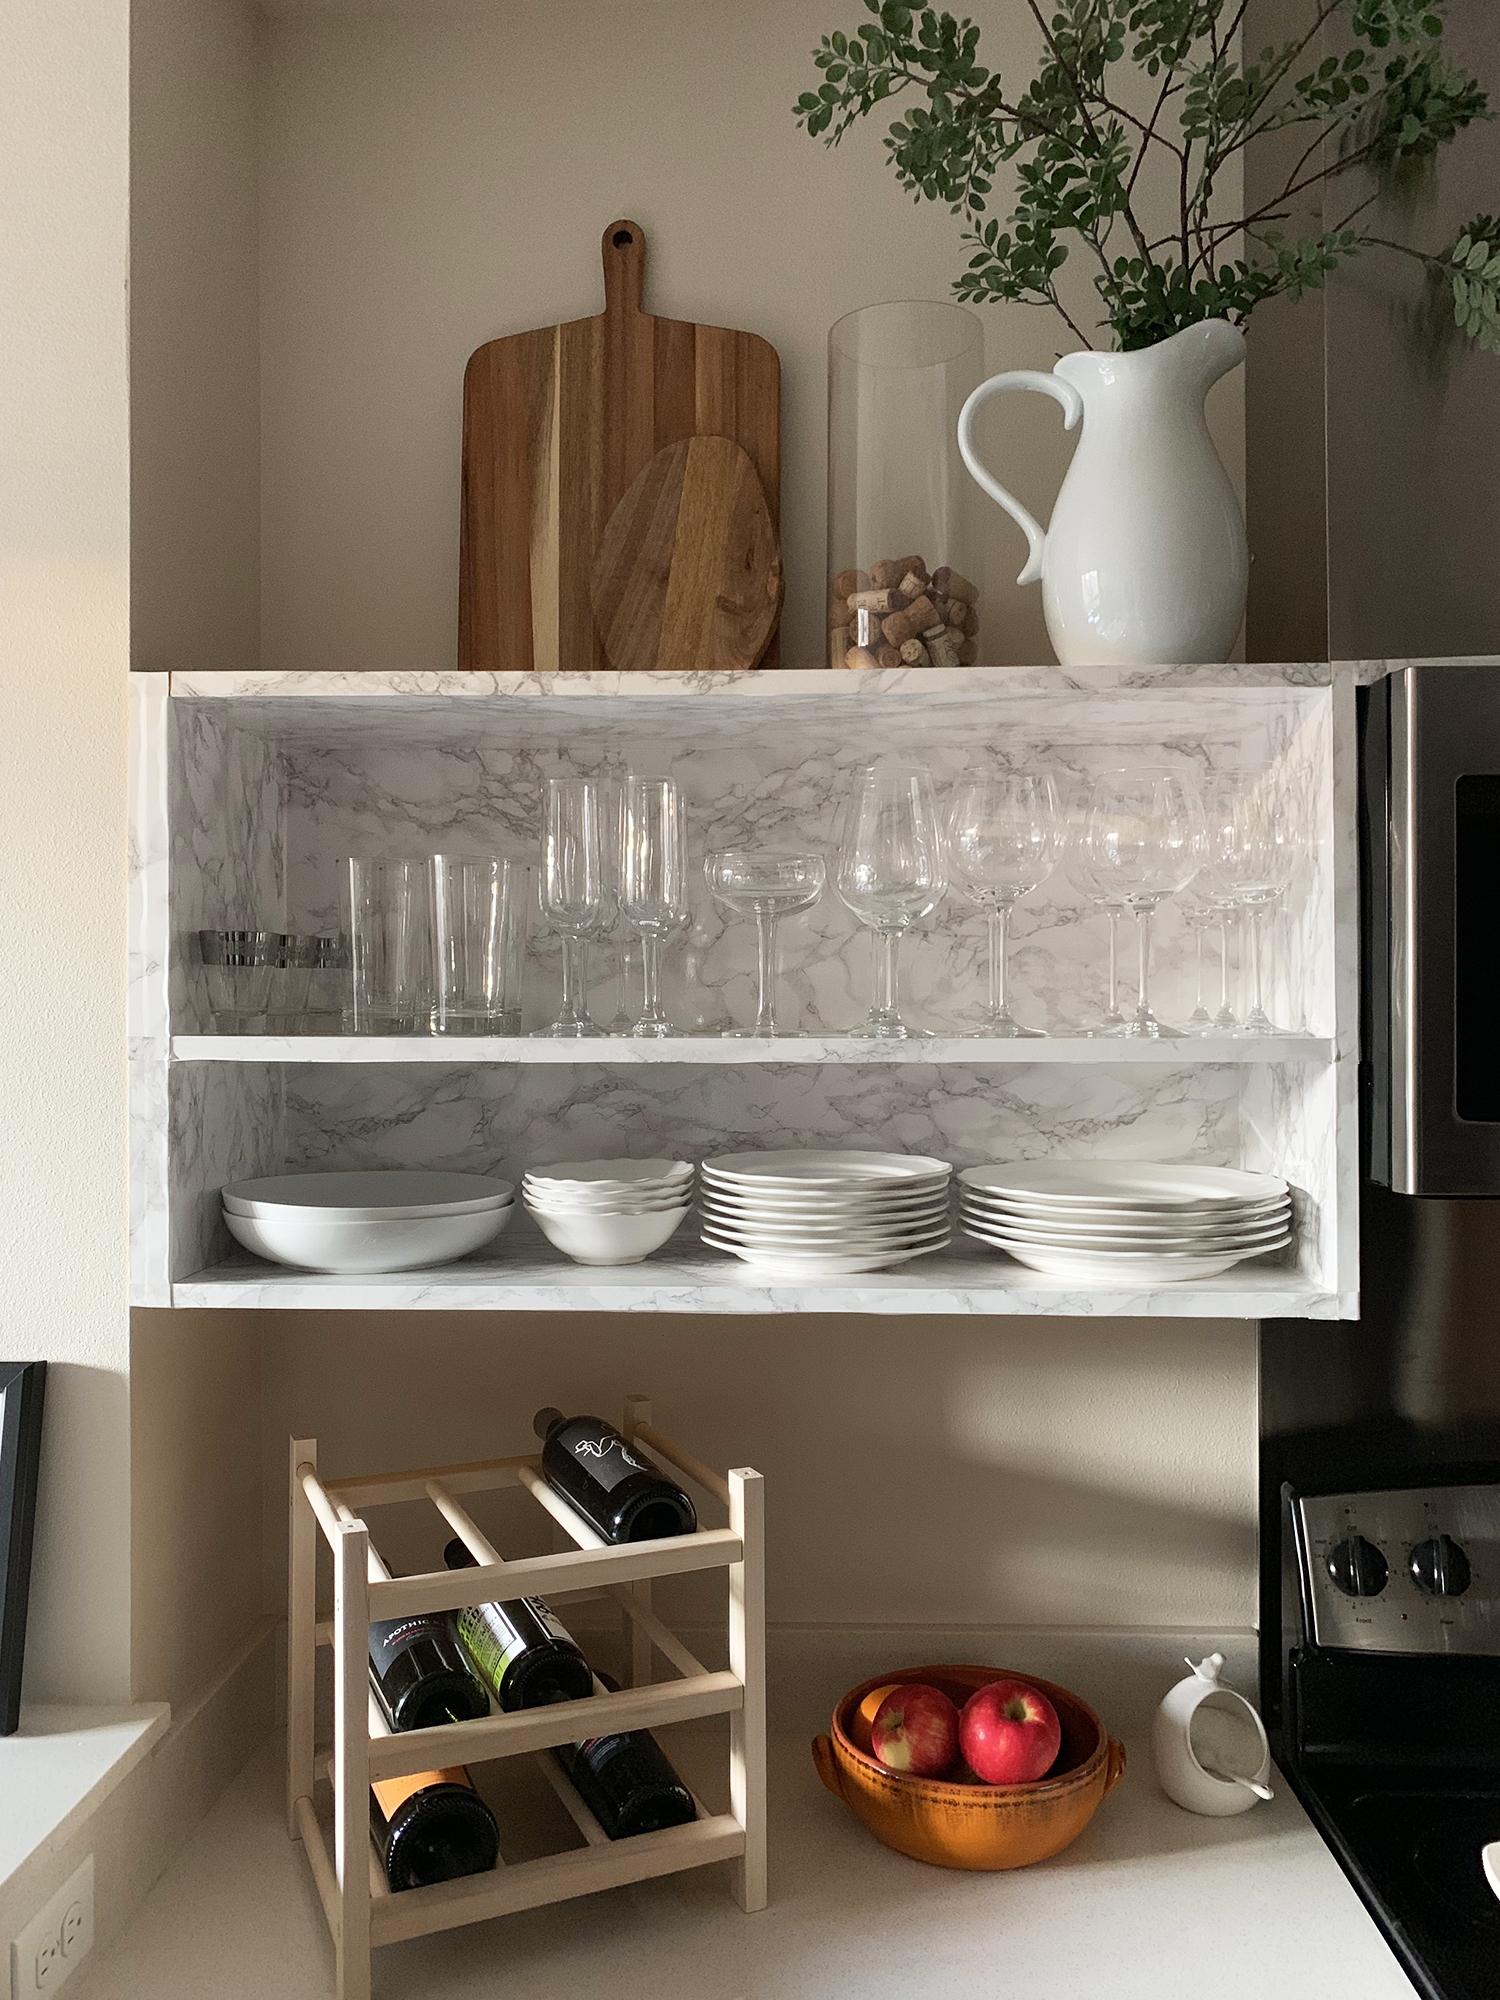
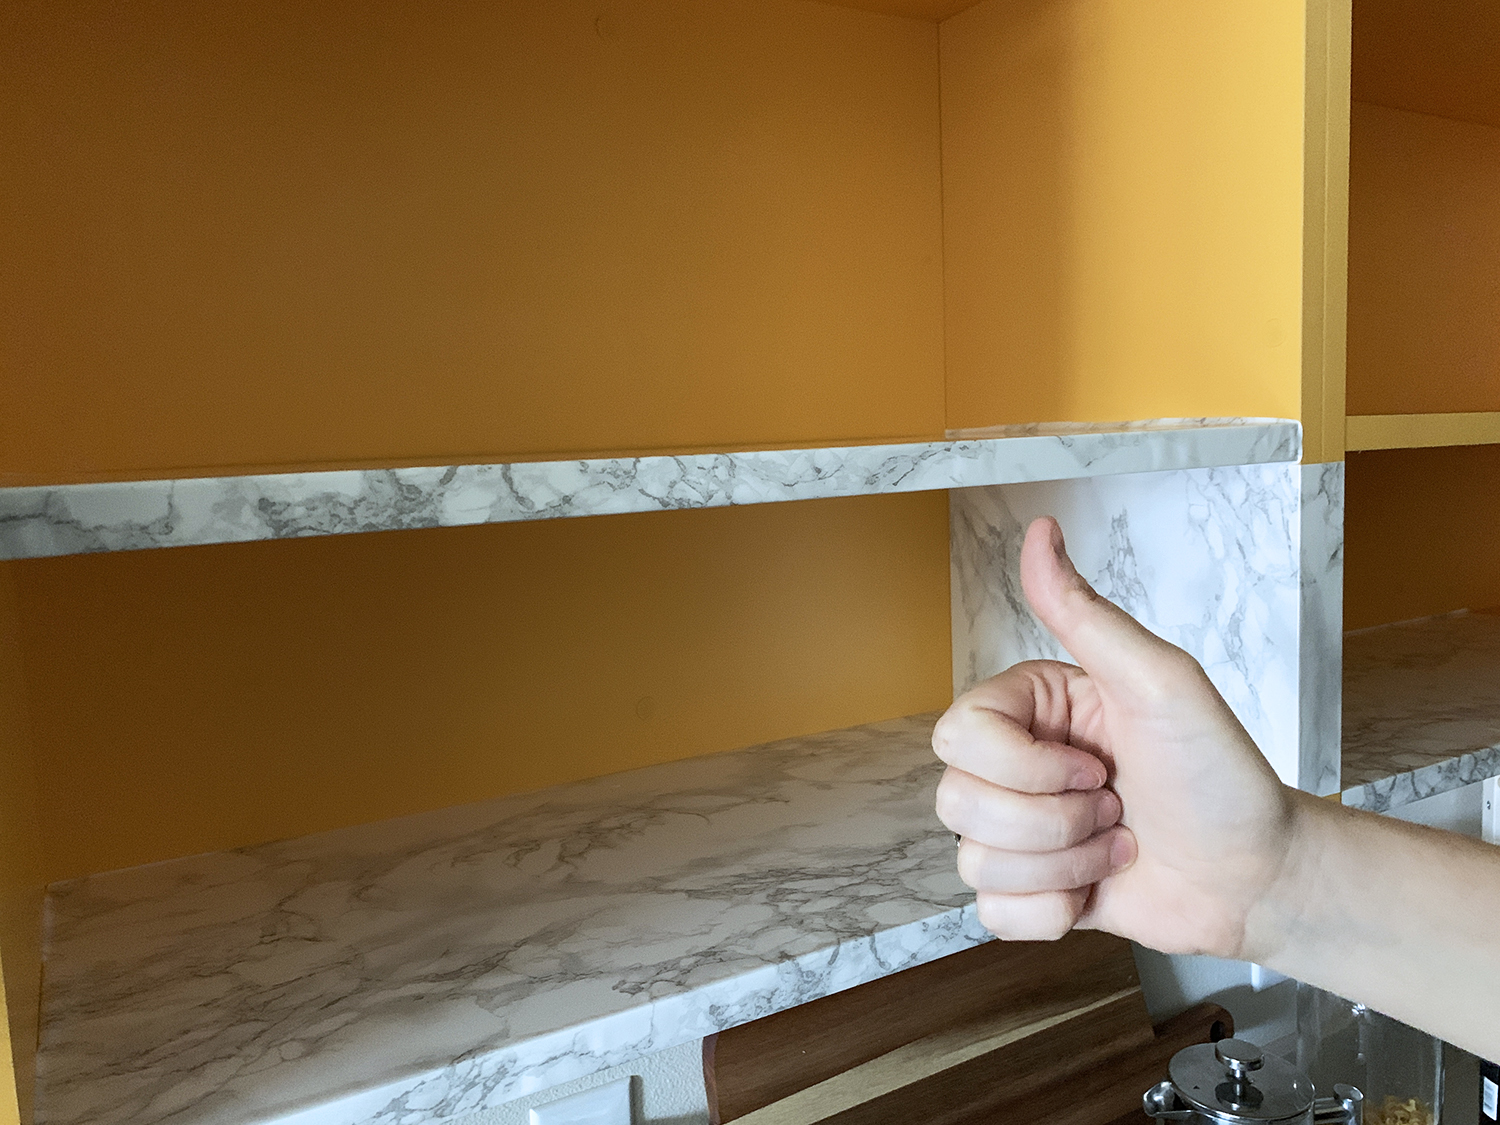
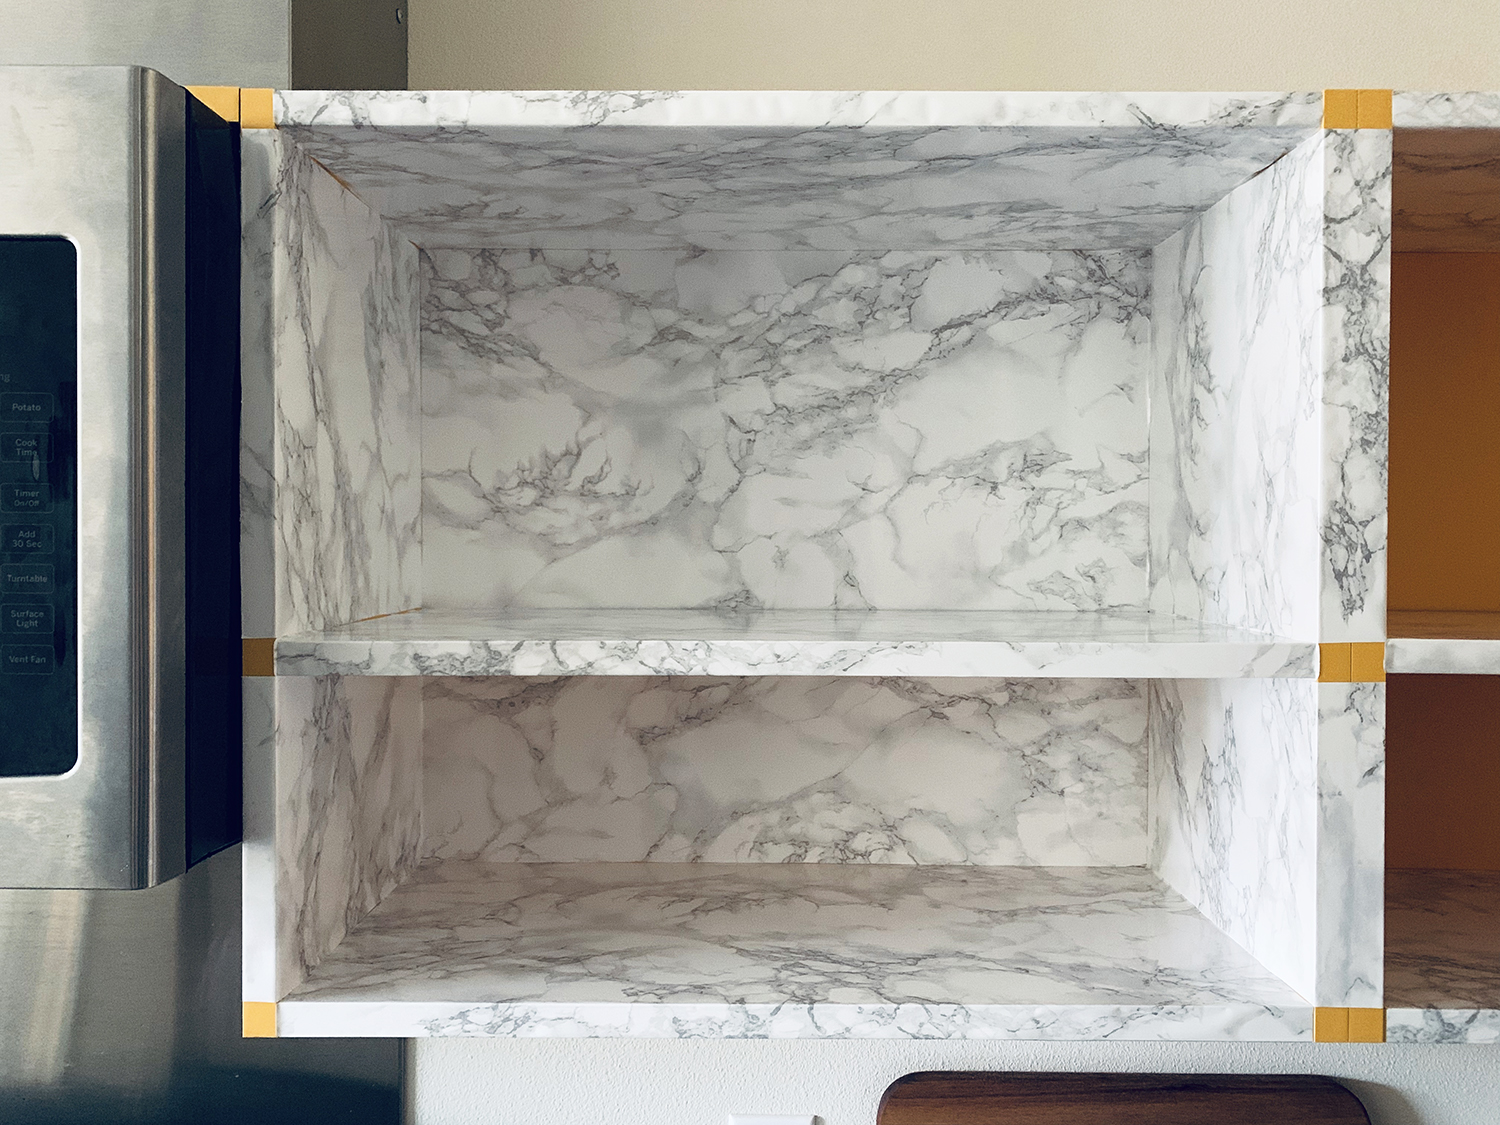
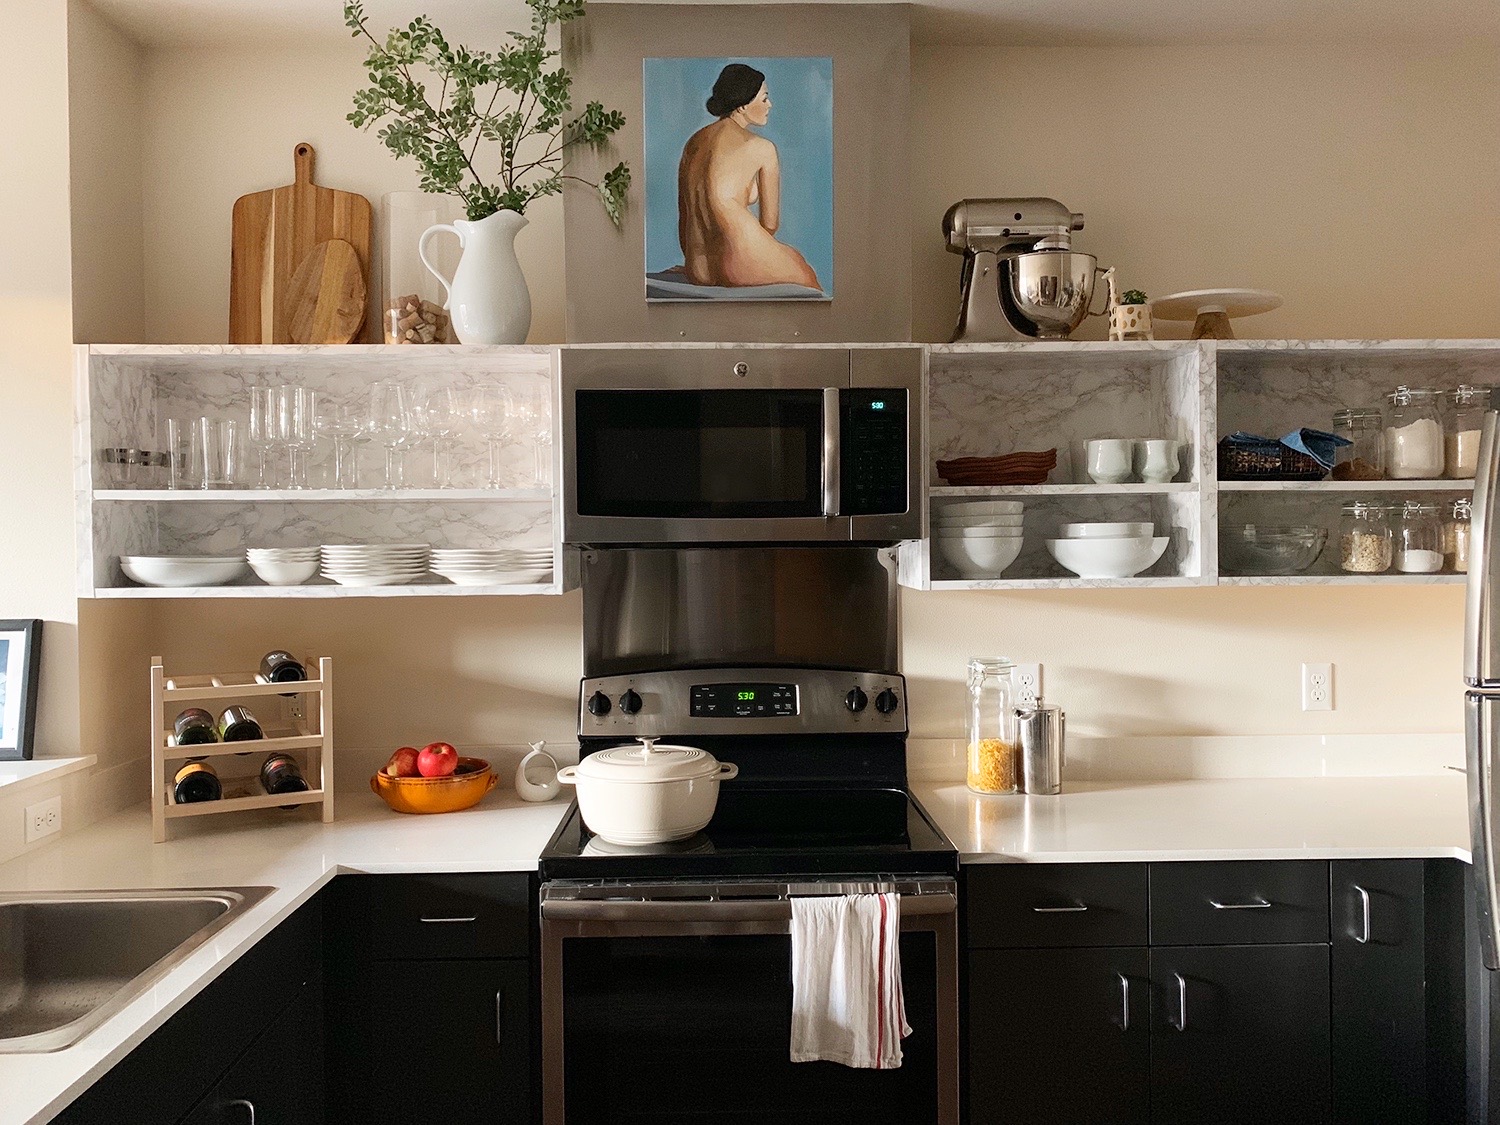
We are so happy with our chic new shelves! They are a much softer backdrop to our favorite entertaining pieces.
How to Apply Marble Contact Paper to Open Shelves
- Measure all of your surfaces (tops, bottoms, sides, backs), and order enough contact paper to cover them all. Order a scraper, too.
- Cut your contact paper with a three- to four-inch lip to wrap around the edge and pull it tight.
- Use Windex to slide contact paper into place. Use the scraper to pull out any bubbles and squeegee out the Windex.
- Thoroughly dry excess Windex so as not to lose the adhesive edge.
- If you have a hard edge, which you cannot wrap around, do not apply Windex. Apply carefully for a smooth, straight edge. (Additional adhesive is not recommended.)
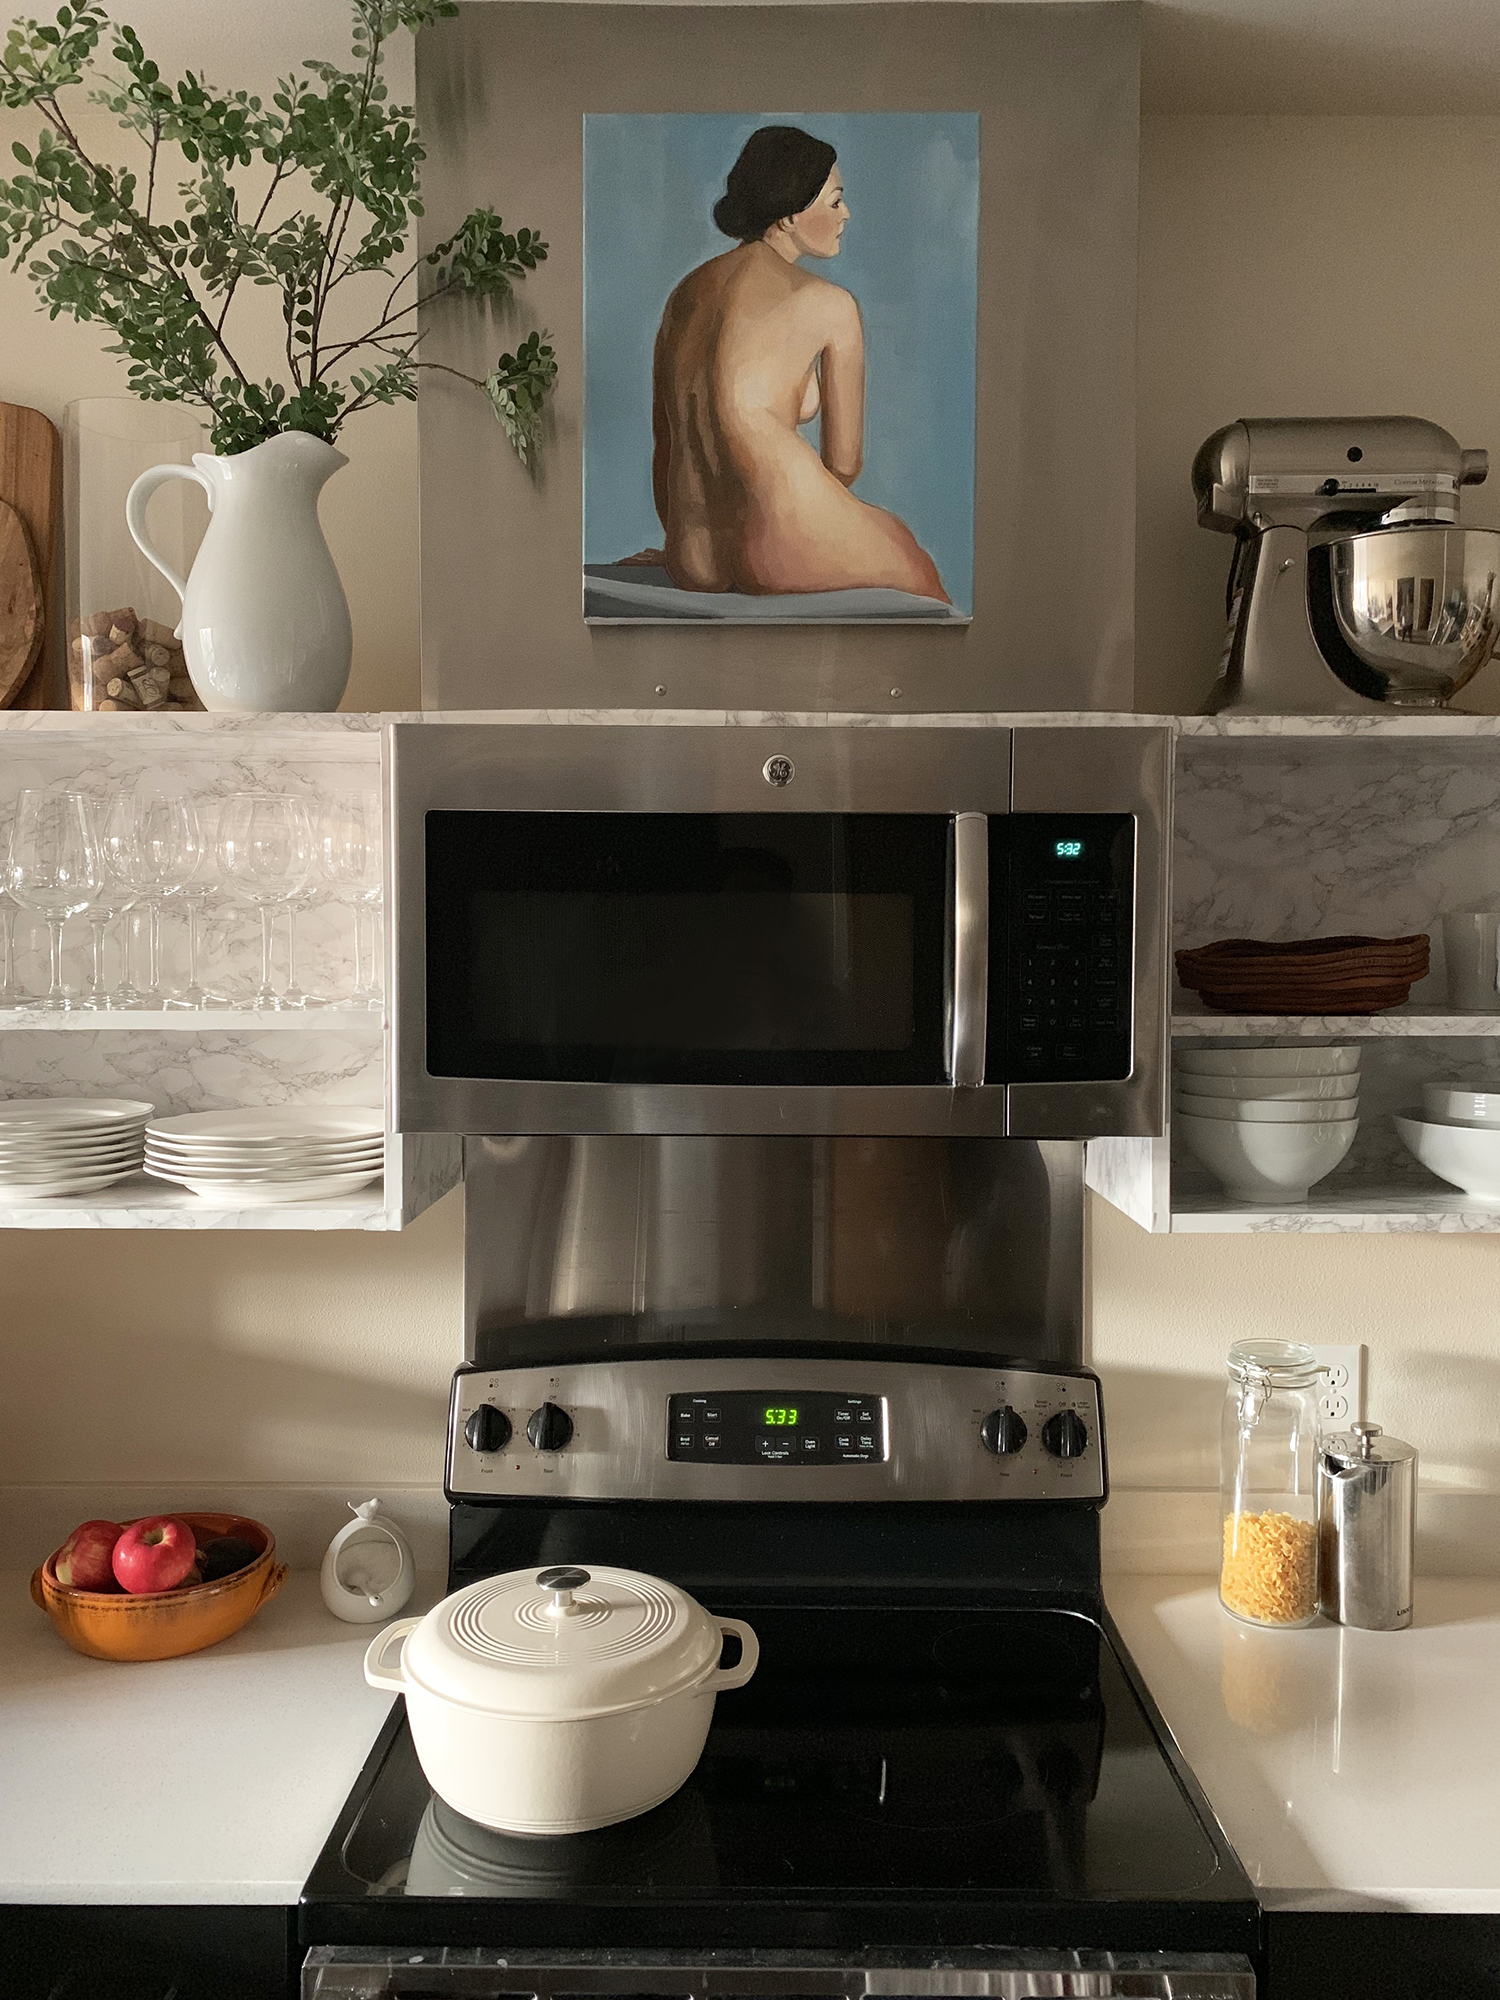
I made a painting to celebrate the welcoming of blue in to our space. Since the apartment opens into our kitchen, this felt like a good place for a first art install.
Sources:
Marble contact paper
Scraper
Large cutting board
Wine cork vase
White pitcher
Faux stems
KitchenAid Mixer
Cake stand
Wine glasses
Bistro low bowls
Essential Serve Bowl
Bendt Iron Square Basket
Roulette Serving Bowl
All-Purpose Bowls
Enameled Cast Iron Dutch Oven
Painting
How to Apply Contact Paper to Walls
Source: https://www.chrislovesjulia.com/renter-diy-adding-marble-contact-paper-to-open-shelves/
0 Response to "How to Apply Contact Paper to Walls"
Post a Comment